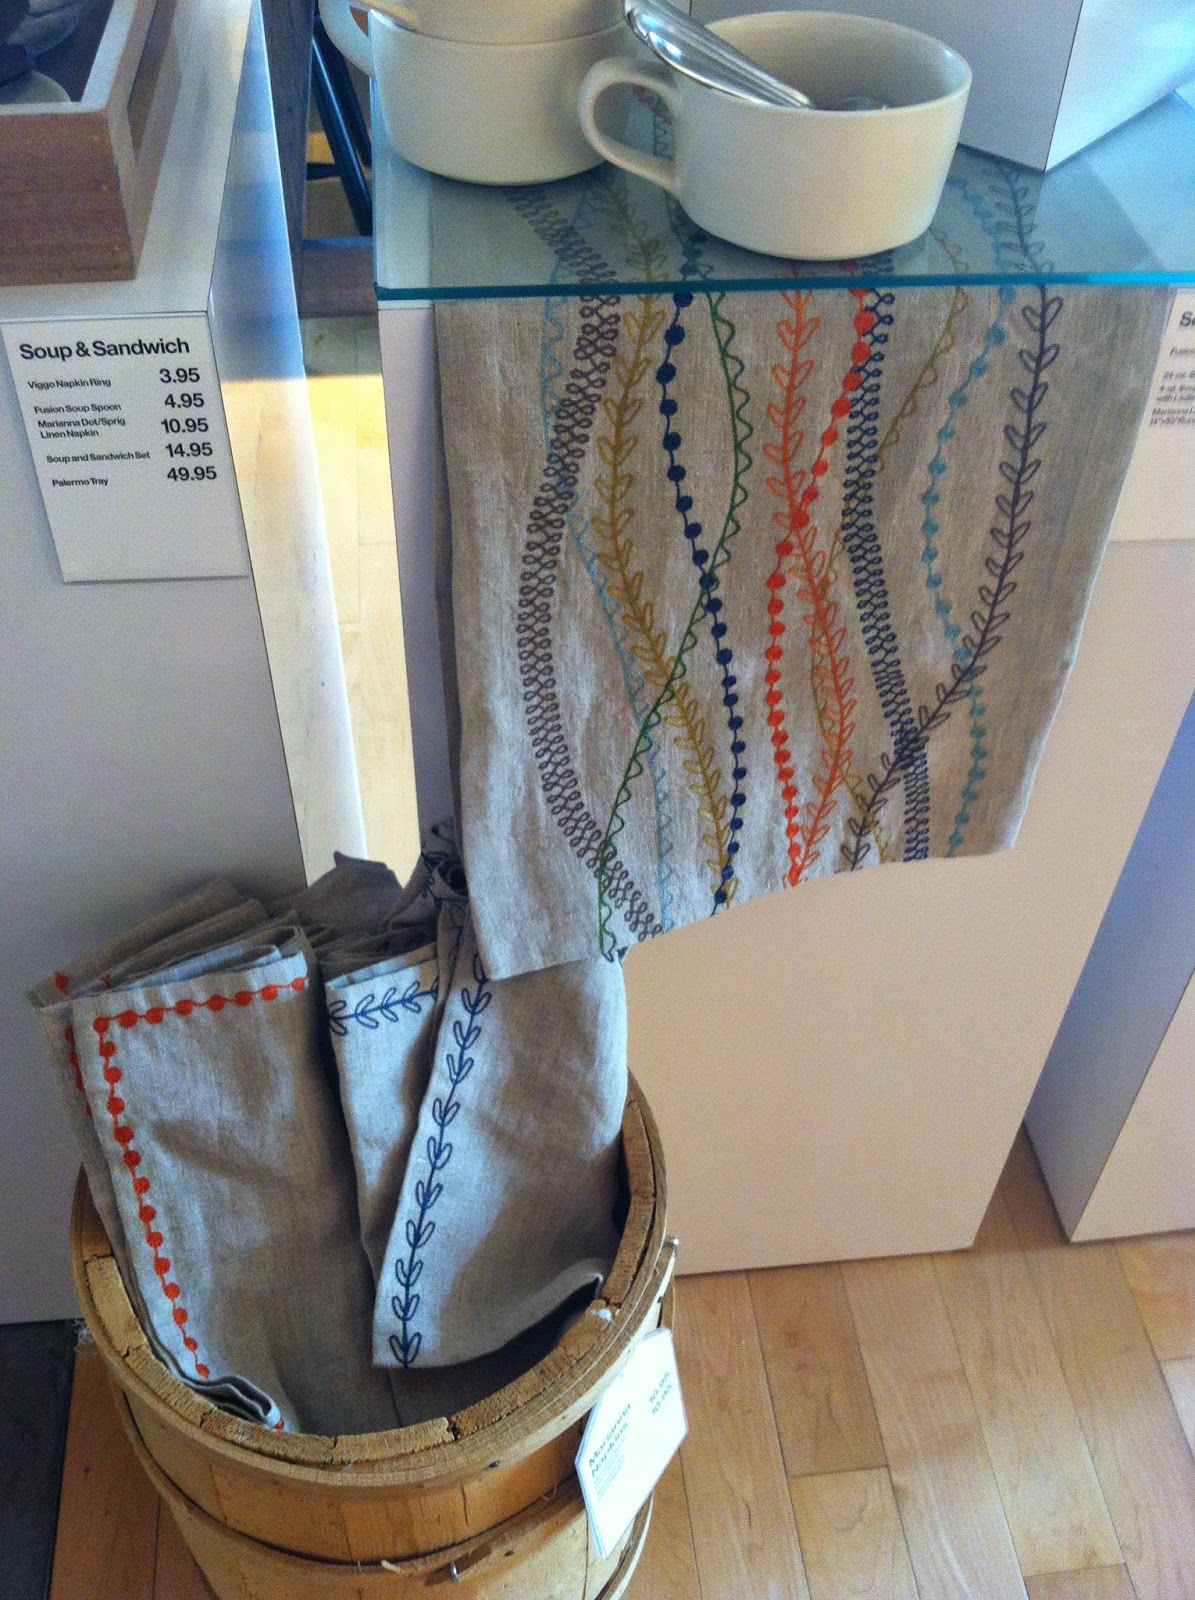
Another favorite place we were able to make it to was Crate and Barrel. I could spend ALL day in this place. Along with my new favorite french fry recipe book, (If you didn't know, fries are my favorite thing EVER) I found this great table runner.
And then it was $70. Yeah, not gunna happen.
How hard could it be to make?
Here's all you need:
-2 yards of linen or muslin fabric (I used muslin)
-thread matching the fabric
-7 to 10 different coordinating colors of thread
Decide how big you want your table runner to be and cut your fabric length and width one inch bigger. (I wanted my runner to be 11"x 52" so I cut it 12"x 53.")
To make the finished hem, press each side of your fabric under 1/4".
Now press that under again so that the raw edge of the fabric is tucked inside. Pin this down.
Mitered corners will give your runner a more finished look. Open the corners of your pressed fabric so that you can see the pressing lines.
Here I traced over the pressing lines with a water soluble marker so I could see them better. Draw a diagonal line through the square that the pressing lines make so it goes to the edges of the fabric.
Now cut along the diagonal line.
Use your fingers to fold the raw edge of the diagonal over.
Refold the fabric edges so they match your pressing lines and fold the diagonal edge in to the edges match up like in the picture below. Do this to all four corner and pin like crazy.
Your hem is all prepped. Just stitch it down. The closer you sew to the open edge of your hem, the better the runner will lay flat on the table.
Now that you have the basic runner complete, it's time for the fun part! Use your water soluble marker to draw curvy lines from end to end of the runner. Make sure some of the lines overlap. Luckily, this isn't supposed to be perfect!
Pick out which colors of thread you would like to use and the order. If your sewing machine can do special stitches, you may want to spend time experimenting with sizes and which ones you like best. If you don't have all the fancy stitches, just using different sized zig-zag stitches would look great too.
Here are my notes:
P.S. If I can give any advice about sewing, it would be to keep a notebook with notes from all your projects. It is SO helpful if I need to go back to find measurements, patterns, what stitches I used, etc.
Once you've picked out your stitches and colors just sew along those lines.
This is a fantastic project for people who can't sew a straight line to save their lives. (**Slowly sinking down in my seat so I don't look guilty** But seriously, don't ever ask me to sew a straight line.)
Sew over all of the lines you have drawn. This was where I was originally going to end it, but decided to add a few more.
And once you are through with that, wash any visible marker lines out, dry, and press. You are finished!
Sorry for the bad picture quality. I really need to try to take these during daylight hours.
Thanks for reading!!


This is SSSOOO gorgeous!!! I really think I could totally make this! This is happening!
ReplyDelete